
21 4 月 How to use a glue gun?
The application of the glue gun in life, I believe that everyone is no stranger, such as the door leak of the house, with the glue gun sealant, the water leakage problem will be solved, today I will introduce the specific use of the glue gun step by step!

Methods/Steps
1.Get your tools and equipment, a screwdriver, a bottle of sealant, and a glue gun.
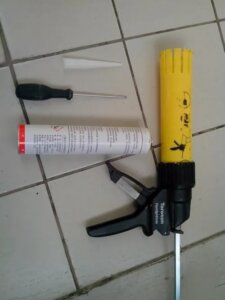
2.Use a screwdriver to gently insert the sealant tip into a small opening so that the sealant can flow out.
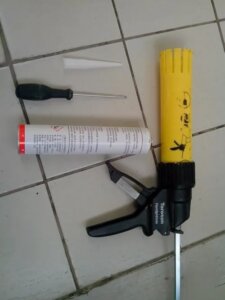
3.Insert a small opening into the small iron cover of the rubber tail of the sealant with a word screwdriver, and then gently remove the small cover, as shown in Figure 2.
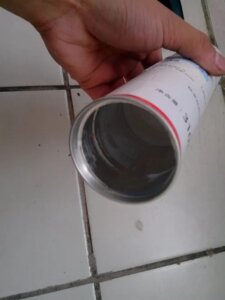
4. Through the thread of the sealant head, twist the nozzle clockwise on the sealant head.

5.Place the black fixing ring of the glue gun at the very end of the glue gun, so that the sealant can be inserted into the glue gun smoothly.
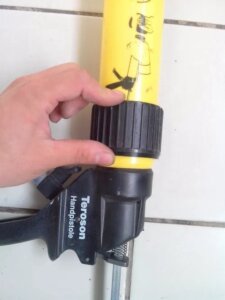
6.One hand holds down the small spring of the glue gun, and the other hand adjusts the extension arm of the glue gun to the maximum. The purpose of doing this is to make the sealant can all enter the inside of the glue gun.
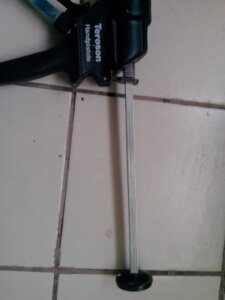
7.Insert the glue gun from the tail, bit by bit, and when only the glue tip is exposed, it means that the entire sealant has been inserted into the glue gun.

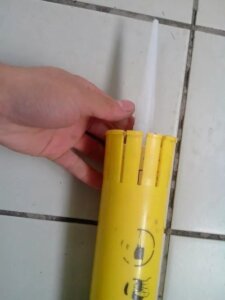
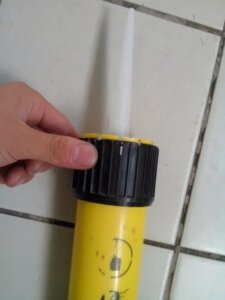
8.Put the black fixing ring of the glue gun on the head of the glue gun. The purpose of doing this is to fix the sealant inside the glue gun and prevent the sealant from escaping the glue gun during the use of the glue gun.

8.Put the black fixing ring of the glue gun on the head of the glue gun. The purpose of doing this is to fix the sealant inside the glue gun and prevent the sealant from escaping the glue gun during the use of the glue gun.
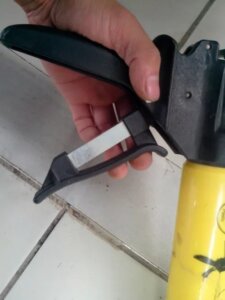
9.Hold down the small spring at the end of the glue gun again, and push the extended arm of the glue gun forward with your other hand until you can’t push it anymore.

10.Press and hold the switch of the glue gun so that the sealant can flow out through the glue nozzle! Please be careful not to press the switch of the glue gun, gently press it bit by bit, so that the sealant will flow evenly out!


No Comments